Creating Your Coinbase Account
When you go to Coinbase.com to create your wallet a screen will be presented where you can enter your first/last name, email address, and password. Select the checkbox and then click the Sign Up button.

Once your wallet is created there are a few steps necessary for security purposes and to link your bank account, PayPal, and credit/debit card so you can start exchanging your currency for Bitcoin or Ethereum.
- Phone Verification
- Add Payment Accounts
- Validate Identity
Phone Verification
Phone verification is necessary to serve as a secondary authentication source to further protect your wallet. The one caveat to this is you will need to enter your cell phone number. Once you enter your phone number you will receive a text message with a verification code to enter on the site. Enter the code and verification is now complete.
Add Payment Accounts
Now that our phone number is validated we need to link a bank account, credit/debit card, or PayPal to transfer money into and out of the Coinbase wallet. I chose to link both my PayPal (for funding my account) and bank account (for withdrawals). This allows me to have funds available immediately when transferring to my Coinbase wallet that I use when purchasing hashpower at Genesis-Mining.com.
During this part of the setup process I would recommend linking your bank account as no ID verification is required for that step.
Linking Your PayPal Account
For this next step or for credit/debit card you are required to validate your ID. If you have a camera on your computer you can upload the image that way. I found it easier to install the Coinbase app on my smartphone and upload my ID that way.
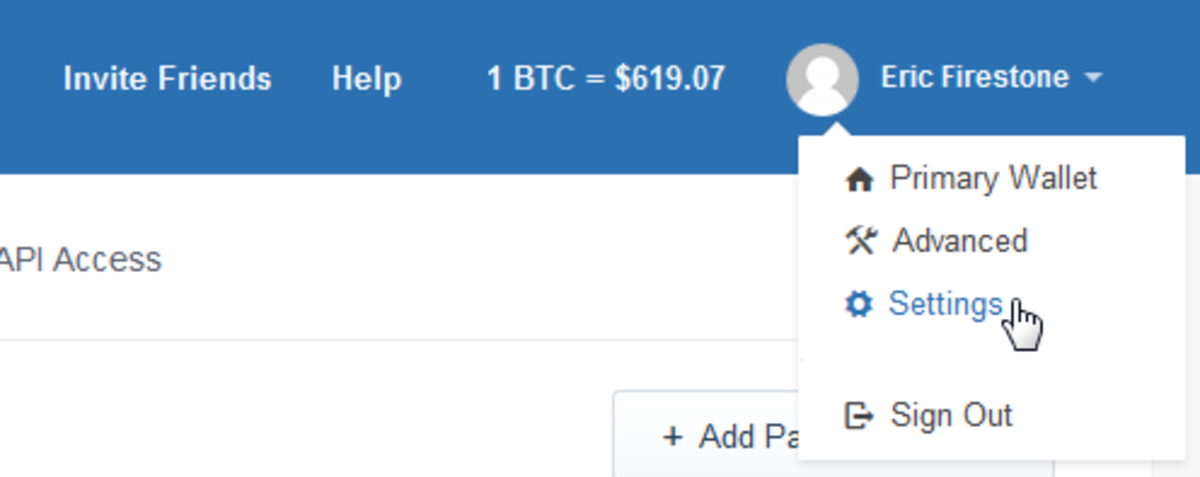
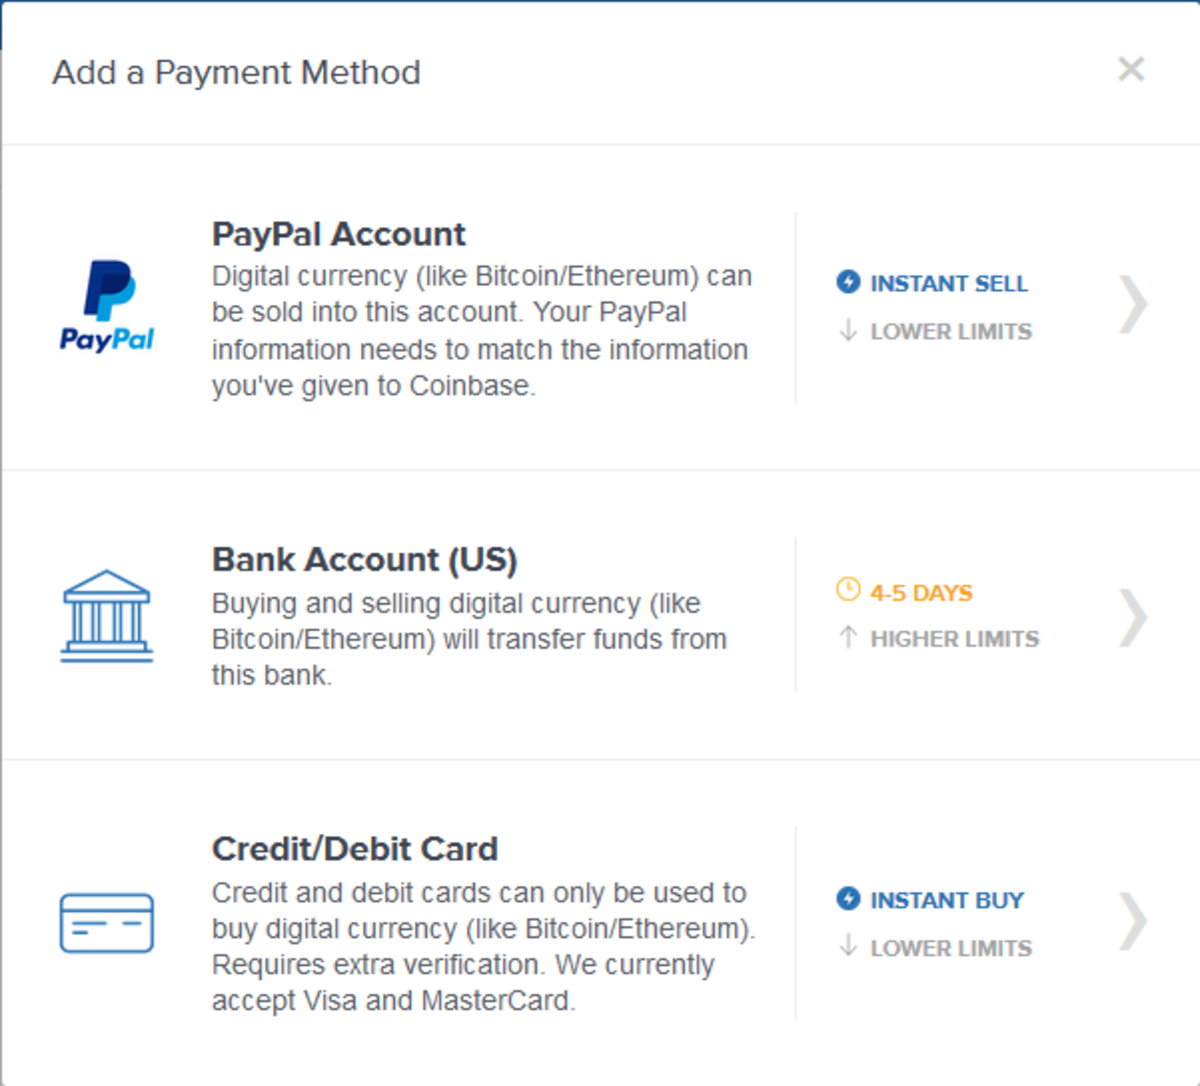
If you do it through your computer you will go to Settings > Payment Methods > Add Payment Method
Select PayPal or Credit/Debit Card and then click on the upload ID link. This will enable your camera and allow you to upload your ID. Once your ID has been verified you will be able to complete your account linking and start transferring funds.
Accessing Account Settings
Add Payment Method

Available Payment Methods
Identity Validation
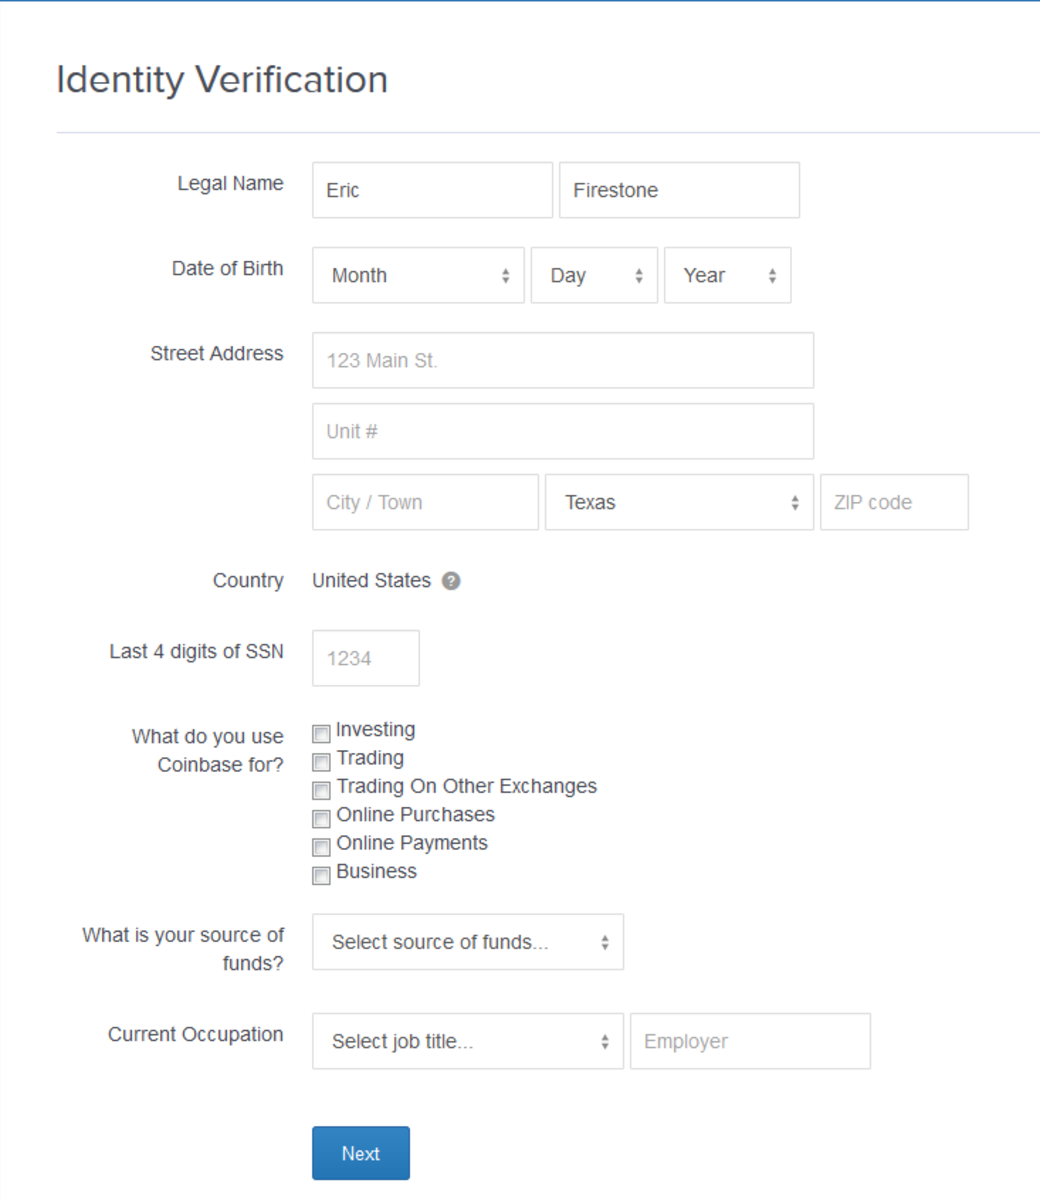
The last thing we need to do is validate our identity by filling out your account profile form. When you go to your account settings you will see a link like the one below. Click that and it will take you to the Identity Verification form. Enter your information and this step is complete and your wallet is now active.

Identity Verification Form
Receiving Bitcoin Funds
Now that your Coinbase wallet is active and your accounts are linked you can send or receive Bitcoin. To receive Bitcoin you simply provide people with your Bitcoin wallet address that they send the funds to. To find your wallet address click on BTC Wallet and then Wallet Address. A window will pop-up as shown below. The long alpha-numeric address is the address to your wallet. Provide this address or your email to people sending you BTC. This is also the address you can use to have your mining profits sent to you.

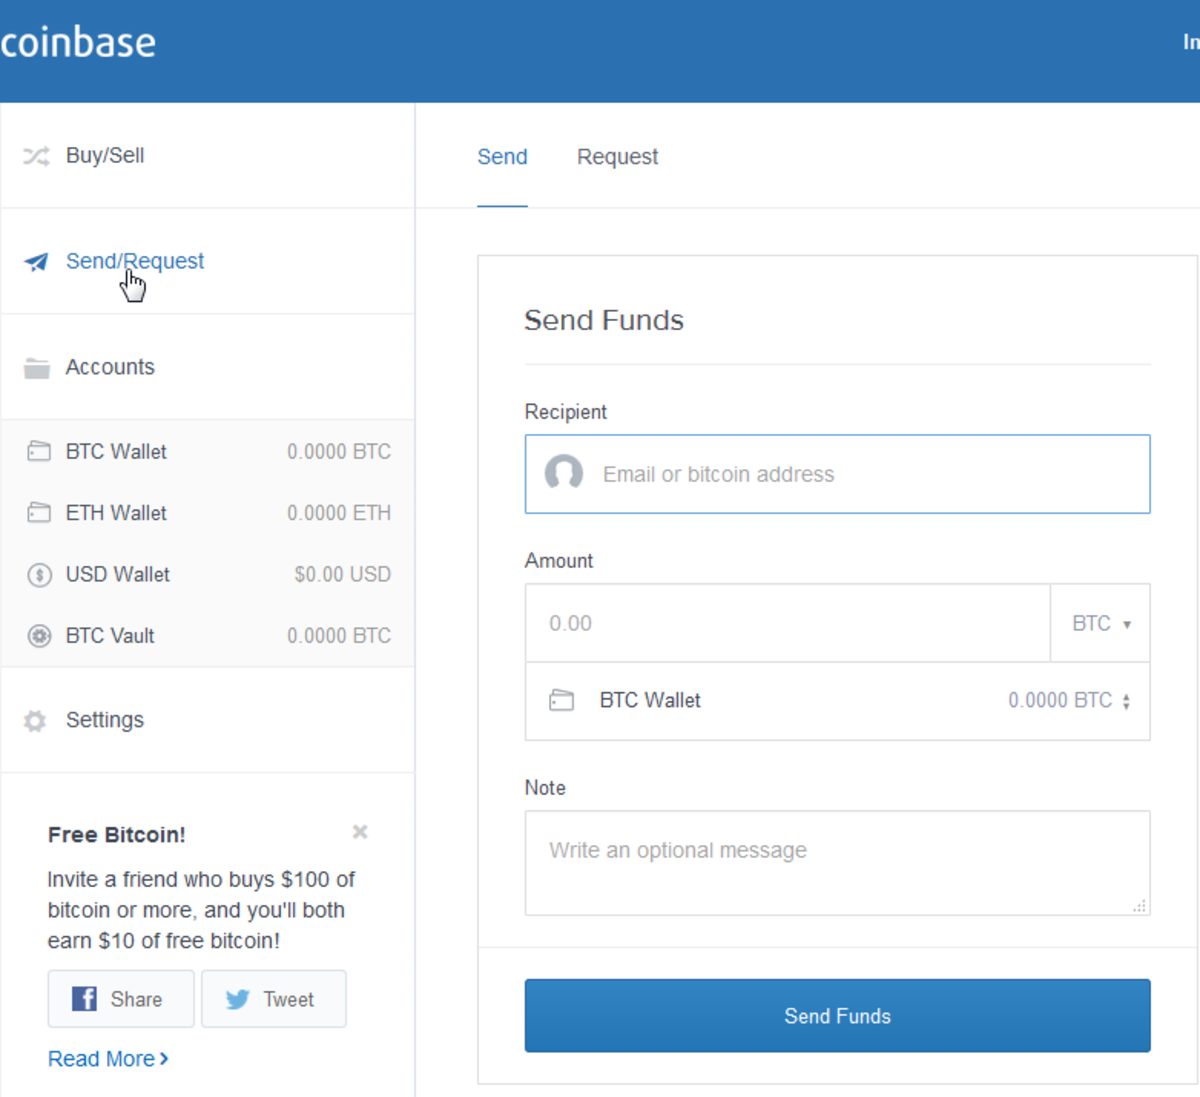
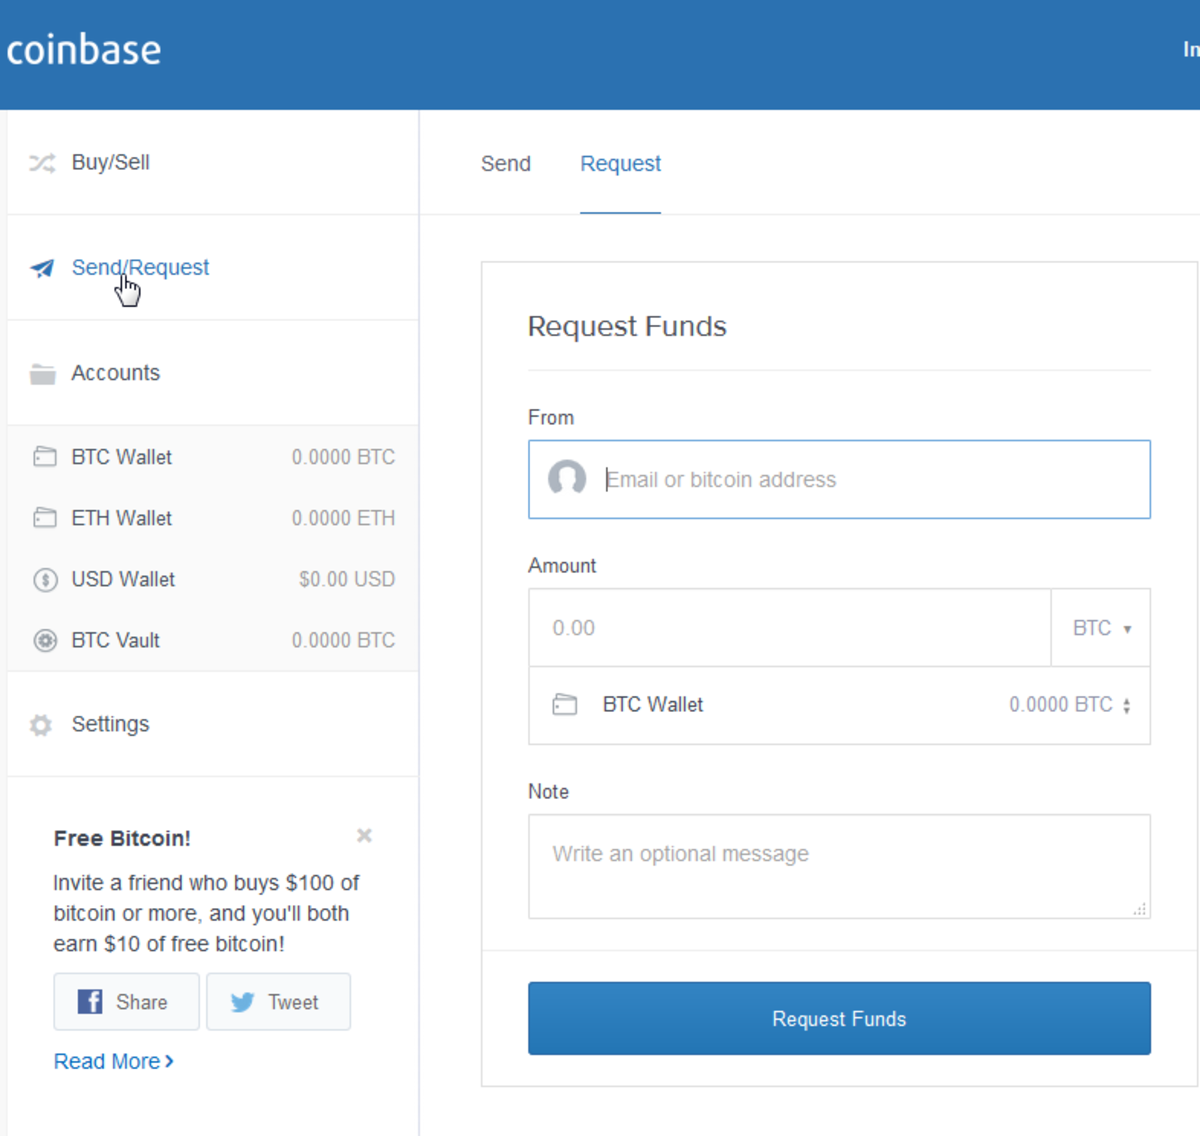
Send/Request Bitcoin Funds
You can also use the Send/Request function of the Coinbase wallet to send BTC or ETH to other users via email or their BTC/ETH wallet address as well as send requests for funds.
For example if you purchase hashpower from a cloud mining site like Genesis Mining, when your purchase is complete they provide a BTC address to send the funds to. Copy that address and use it to send the BTC funds, which will complete the transaction.
Congratulations Your Wallet is Now Setup
You now have a fully functioning cryptocurrency wallet that you can use to purchase and send/receive Bitcoin and/or Ethereum. You can also use this wallet to receive Bitcoin mining proceeds from sites like Genesis-Mining.com or Hashflare.io
You may also be interested in: Getting Started with Genesis Bitcoin Mining


No comments:
Post a Comment